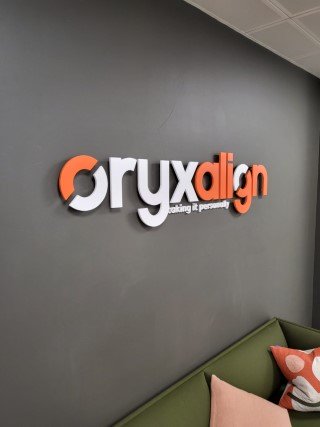
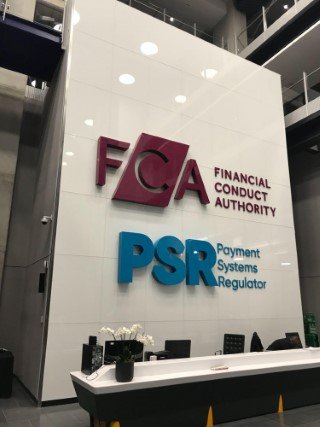
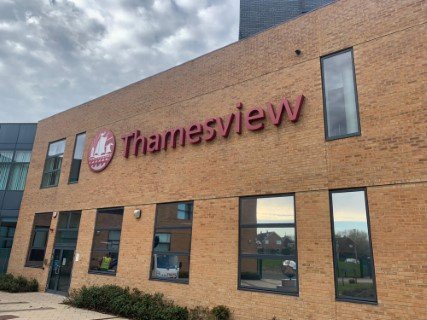
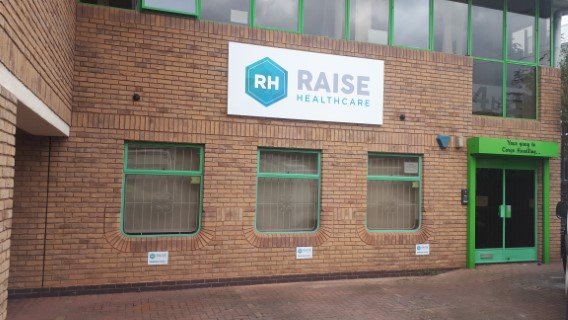
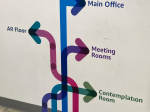
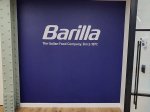
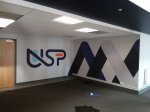
“Excellent, easy to use website. Good communication with regards to logo quality. Sign arrived in good time, is good quality and looks good at our office.”
- Looking for more information?
- Ask a question and our experts will answer it.
Product Details
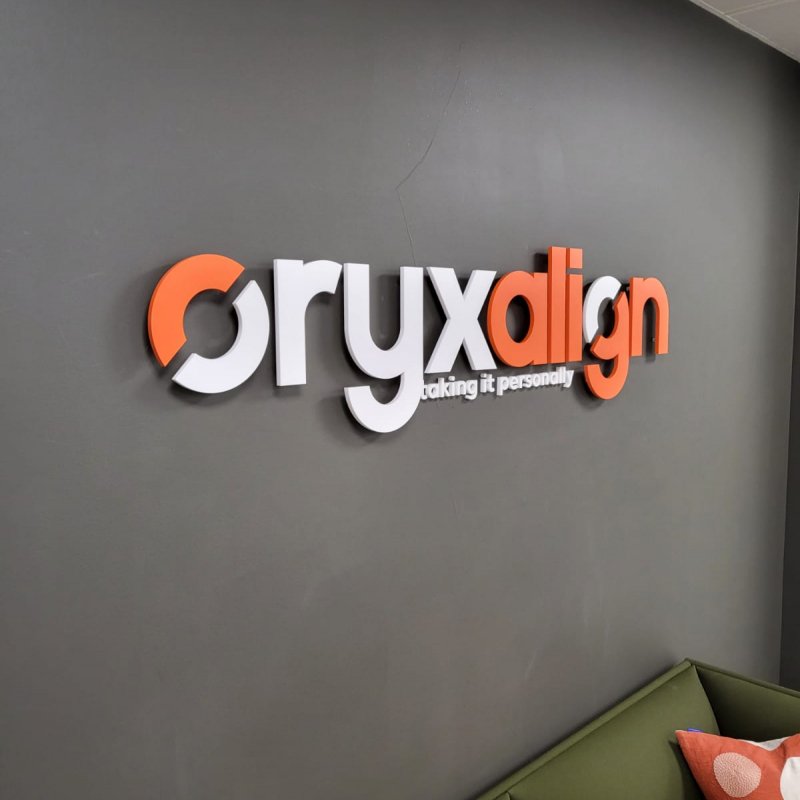
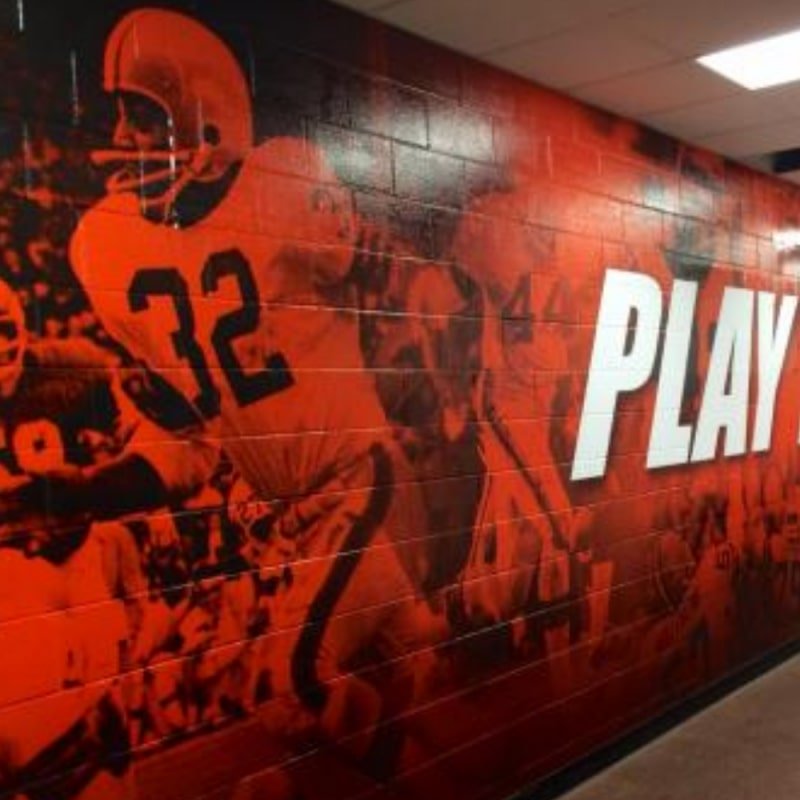
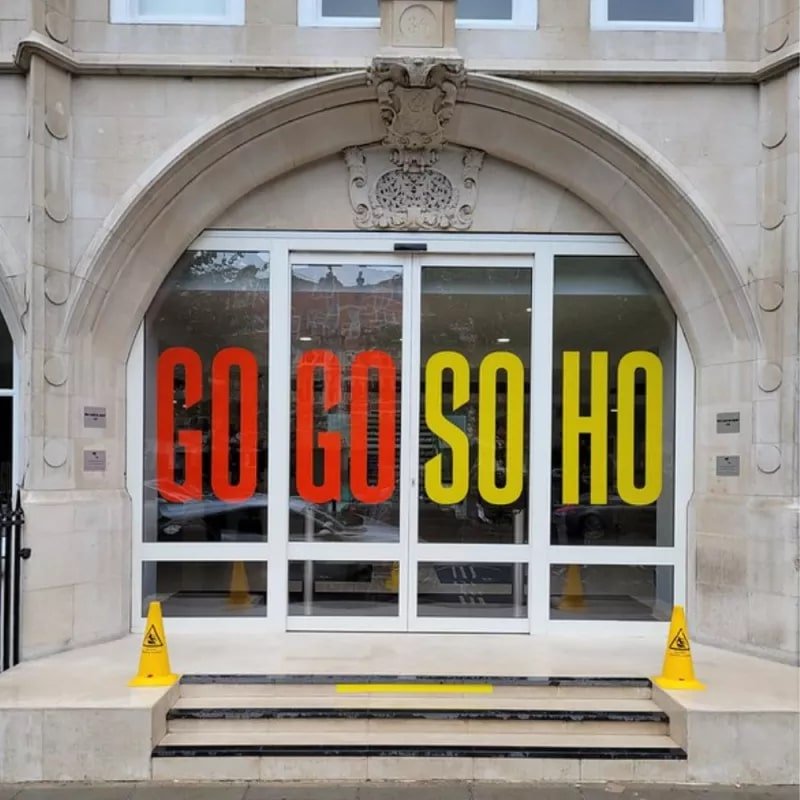
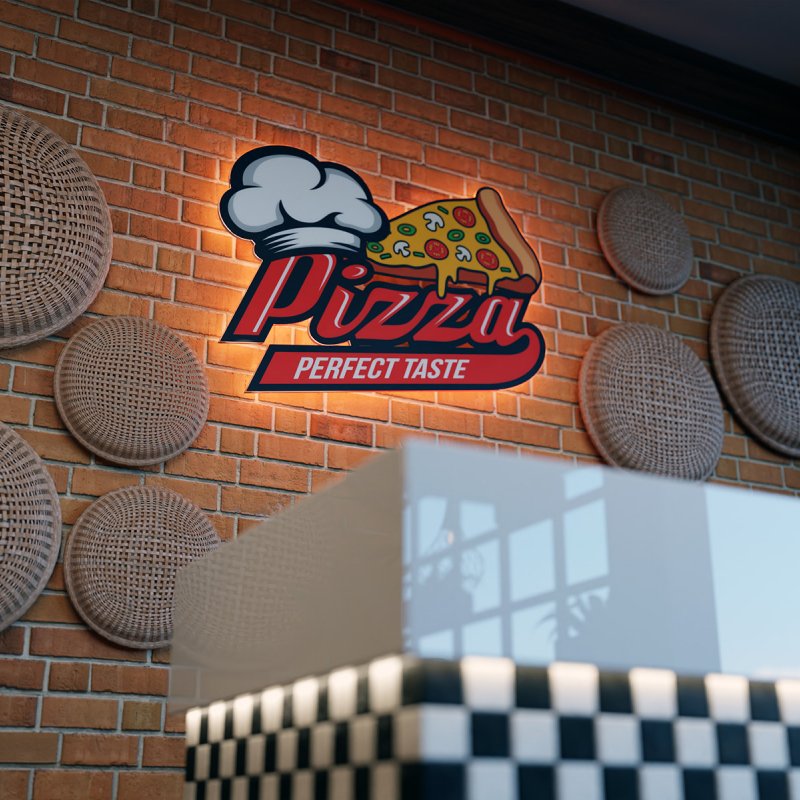
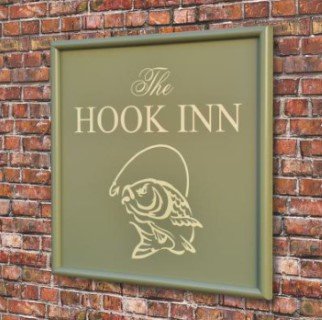
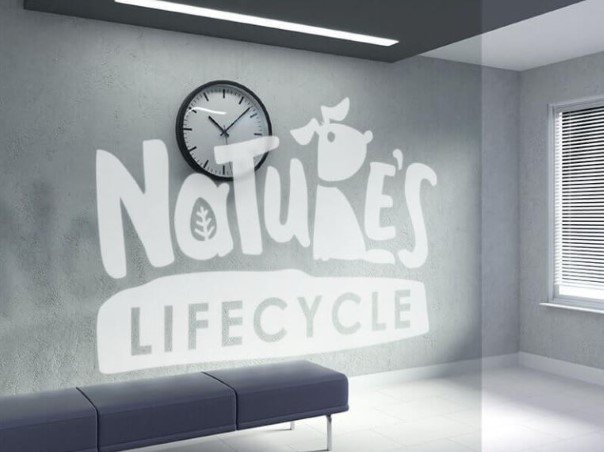
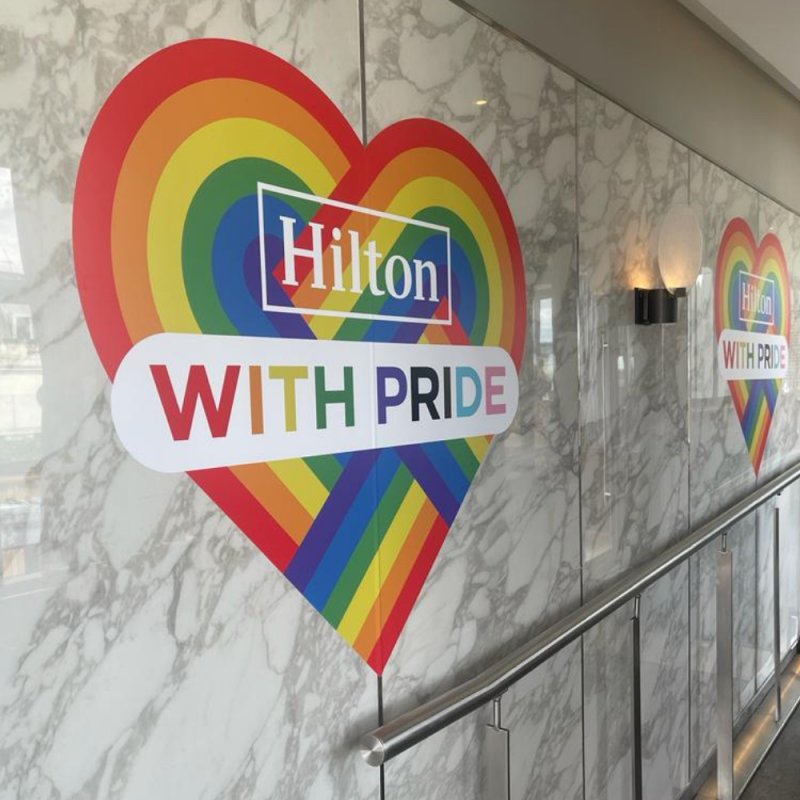
Your logo printed and cut out on high tack wall vinyl with a matt protective laminate finish is a cost-effective way to add branding to your wall space.
Whether it be a company logo, motivational text or a decorative image, adding printed and cut wall vinyl graphics is an easy way to bring an empty wall alive.
- Premium high tack adhesive wall vinyl
- Printed full colour high resolution digital
- Cut to the shape of your design
- Matt laminated for long lasting protection
- Supplied on application paper ready for you to install
Before installing your wall graphic please check your wall is a suitable surface, smooth, free of debris and sealed with a suitable paint which has fully dried in line with manufacturers' guidance.
What's included with this purchase:
- 1 x Printed full colour wall vinyl with matt laminate and supplied on application paper for easy install
Wall Assessment
Ensure the wall is smooth, ideally with a satin or gloss paint finish. Certain paint additives, low latex, and VOC levels can reduce adhesive bond. Avoid 'easy care' and 'easy clean' paints.
If unsure of the paint type, trial a sample print for 24 hours before full installation. Apply a primer if there is any doubt about surface suitability.
Freshly painted walls need up to 5 days to dry; newly plastered walls need up to 4 weeks.
Repositionable/low tack adhesives are unsuitable for coated or treated surfaces like stainless steel, brass, or bronze. Dusty surfaces can contaminate adhesive and reduce bond strength. Priming is recommended for these adhesives.
Wall temperature should be above +4°C, ideally above 10°C. Avoid applying to brick or heavily textured finishes unless using approved media like General Formulations’ RoughMark vinyl. Always test print first.
Priming the Walls
Priming reduces adhesive contamination, improves bond strength, counters wall moisture, and masks surface imperfections. Use a water-based eggshell or recognized wall primer and adhere to drying times.
Wall Graphic Printing & Artwork Considerations
Heavy deposits of uncured solvent or UV inks can affect film stability and adhesive strength. Fully cure, dry, and outgas prints before packaging or application, allowing 24 hours as a guide.
Polyester and PVC materials may shrink over time. Allow a 10mm overlap in prints. For textured surfaces, a larger overlap may be needed. For promotional applications, splice the join by overlapping and cutting through both layers to remove excess material.
How to Apply the Wall Graphic
For small decals:
- Remove the liner and position the graphic.
- Use a squeegee from the middle to the edges to avoid air bubbles.
- Ensure edges and corners are firmly attached.
For large decals:
- Lay face down, peel back part of the liner, and fold down.
- Align and apply the top portion with a squeegee.
- Slowly remove the remaining liner while pressing the decal to the wall.
- Work towards the edges to avoid air bubbles.
- Ensure edges and corners are firmly attached.
How to Remove the Wall Graphic
Gently peel from top to bottom at a 120-degree or greater angle using smooth, consistent force.
No liability for damage to painted surfaces as this depends on the paint-wall bond, which is beyond our control.

